

Key Takeaways
Why Early Detection Makes All the Difference
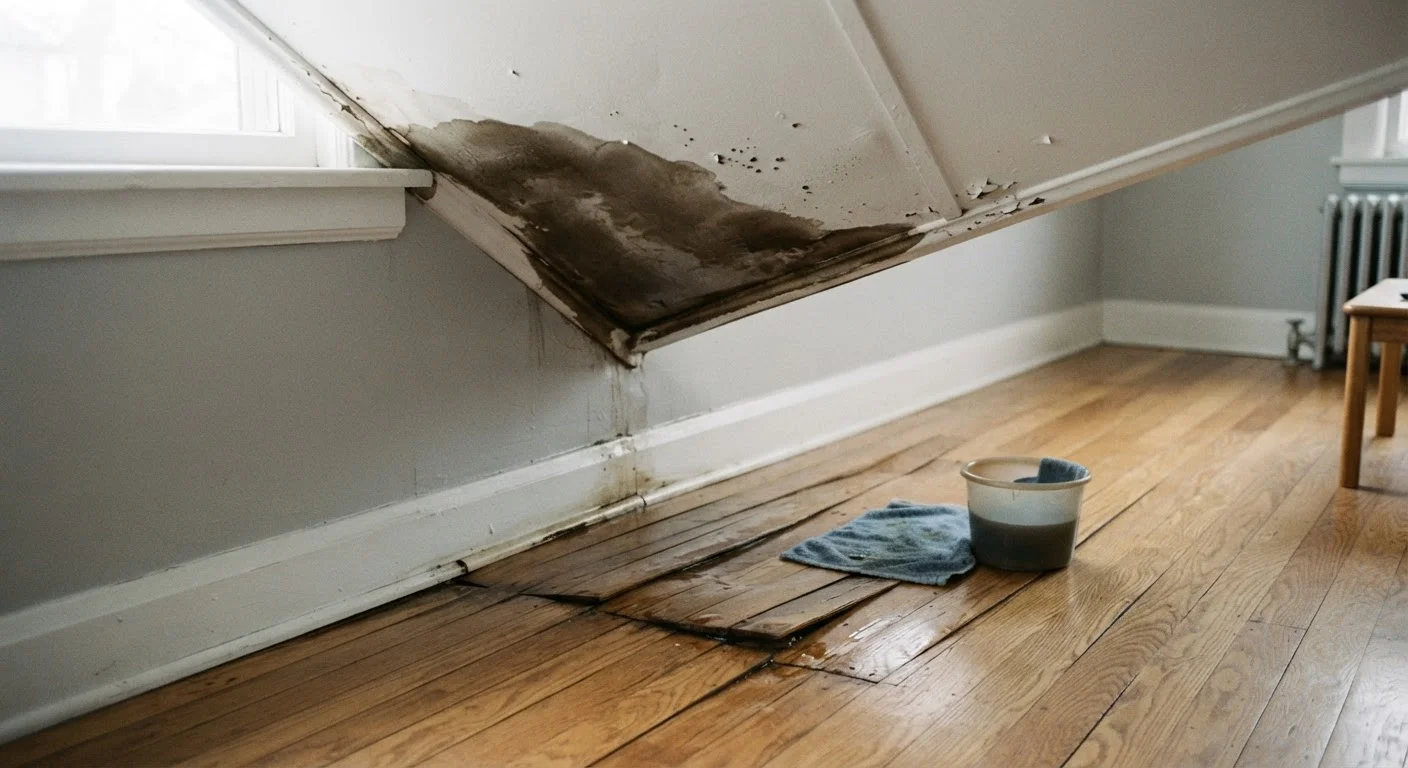
Water damage is one of the most common - and most preventable - causes of costly home repairs. The challenge is that moisture rarely announces itself loudly. By the time a ceiling collapses or a floor buckles visibly, intrusion has often been underway for weeks or months. The earlier you catch the signals, the narrower the repair scope tends to be.
Common early indicators include:
- Yellowish-brown ceiling rings - a classic sign of water pooling above drywall
- Musty or earthy odors - often indicating moisture trapped in hidden cavities
- Peeling or bubbling paint - caused by moisture pushing through walls
- Warped, soft, or discolored flooring - especially near plumbing fixtures or exterior walls
- Efflorescence on basement walls - mineral deposits left by migrating groundwater
None of these signs automatically means disaster, but each one warrants investigation. A routine inspection - done seasonally or after heavy storms - is one of the most practical habits a homeowner or renter can build.
Use a Flashlight and Moisture Meter
A basic flashlight reveals staining angles and texture changes that normal overhead lighting can miss. An inexpensive moisture meter - available at most hardware stores - can detect elevated moisture levels inside drywall or wood without cutting into surfaces, giving you more data before calling a pro.
How to Inspect Your Home Room by Room
The steps below walk you through a complete inspection in logical order. Before you begin, review what you'll need.
What you will need
Flashlight
Illuminate low-light areas such as under sinks, inside closets, and along baseboards to spot discoloration or moisture.
Moisture meter
Measure moisture content in drywall, wood framing, and flooring without invasive cutting.
Notepad or phone camera
Document findings - stain size, location, and date - for tracking changes over time or sharing with a contractor.
Ladder or step stool
Access ceiling areas, attic hatches, and high wall sections safely for visual inspection.
Gather your tools and plan your inspection route
Before you start, collect a flashlight, your phone or a notepad, and optionally a moisture meter. Plan a logical path through your home - typically starting at the top (attic or top floor) and working downward to the basement or crawl space. This order mirrors how water travels: roof intrusion shows up in upper ceilings first, then migrates down.
Inspect ceilings and upper walls for staining
Look for yellowish-brown rings, bubbling paint, or sagging drywall on ceilings - especially below bathrooms, under rooflines, and around light fixtures. Water stains often appear as irregular rings with a darker outer edge. Check corners where walls meet ceilings, as these are common collection points. A roof leak is a frequent culprit; learn how even small leaks escalate in our related guide on roof leak progression.
Check floors for warping, soft spots, and discoloration
Walk slowly across hardwood, laminate, and vinyl flooring, paying attention to areas that feel spongy, bounce underfoot, or show visible cupping (edges raised higher than the center). These are signs of moisture absorbed into the subfloor. Around toilets, tubs, and dishwashers, look for tile grout that has darkened, cracked, or separated - a failure point discussed in detail in our guide on grout and caulk maintenance in wet areas.
Inspect under sinks and around plumbing fixtures
Open cabinet doors under all kitchen and bathroom sinks. Look for water rings, dark staining on the cabinet floor, warped wood, or active drips around supply lines and drain connections. Check the area behind the toilet base and around the tub surround. Supply line failures are a leading cause of interior water damage and can release significant water quickly. For broader context on your home's plumbing system, see plumbing basics every homeowner should understand.
Examine the basement and exterior foundation
In the basement or crawl space, look for efflorescence - the white powdery mineral deposits left behind when water moves through concrete - along with rust stains, damp insulation, and standing water. Check where utility lines enter the home for gaps or cracks. Outside, inspect the soil grade: it should slope away from the foundation, not toward it. Gutter condition directly affects basement moisture; our gutter maintenance guide explains when cleaning isn't enough. For deeper moisture control strategies, see basement moisture control causes and solutions.
Document findings and decide on next steps
Compile your notes and photos into a simple log: location, description, and date for each issue found. Minor staining from a previously fixed leak that hasn't changed may need only monitoring. Active moisture, growing stains, soft floors, or any sign of mold warrant prompt professional evaluation. For structural, electrical-adjacent, or mold-related water damage, always engage a licensed contractor rather than attempting repairs independently.
Mold Can Begin Growing Within 24-48 Hours
Once moisture enters a wall cavity, subfloor, or ceiling, mold can establish itself quickly - sometimes within a day or two. If you see widespread discoloration, fuzzy growth, or experience persistent respiratory irritation in a specific room, do not disturb the affected area. Contact a licensed mold remediation professional for assessment before attempting cleanup.
Don't Ignore Musty Smells Behind Walls
A persistent earthy or musty odor with no visible source often indicates moisture trapped inside wall cavities or beneath flooring. Masking the smell with air fresheners delays necessary action. If the odor doesn't resolve after improving ventilation, have a professional inspect for hidden leaks or mold.
This article is for general informational and educational purposes only. It does not constitute professional home inspection, structural, or mold remediation advice. Always consult a licensed professional for diagnosis and repair of water damage or mold concerns in your home.