

Tech & Gadgets

Things to Check Before Buying a Refurbished Laptop

Share
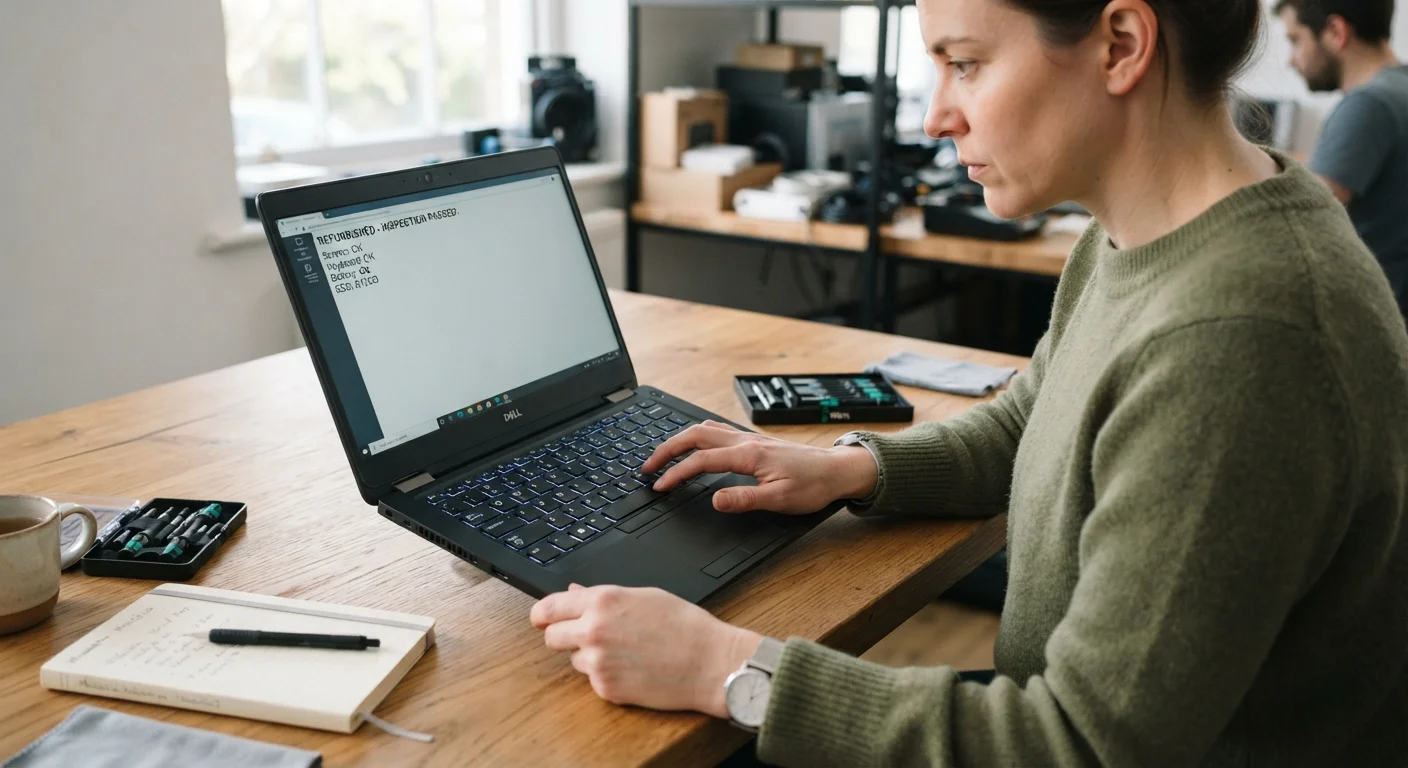
Person carefully inspecting a refurbished laptop on a clean desk in natural light.

Key Takeaways

Refurbished laptops can offer genuine value, but only when bought from sellers with transparent grading and warranty coverage.
The battery, screen, and ports are the most commonly overlooked failure points on a used laptop.
Always run a basic hardware diagnostic before your return window closes.
Cosmetic grade and functional condition are separate things — inspect both independently.
Confirm the operating system is genuine and properly licensed before completing the purchase.
20–45 min

Summary

22 items · 20–45 minutes

Why a Checklist Matters Before You Buy

A refurbished laptop can be a genuinely smart purchase — often delivering solid performance at a fraction of the cost of a new device. But the word "refurbished" covers a wide spectrum: manufacturer-certified rebuilds, retailer-inspected returns, and lightly cleaned second-hand units can all carry the same label. Without a consistent set of checks, it's easy to overlook a failing battery, a cracked hinge, or a Windows license that isn't properly activated.

This checklist is designed to help you evaluate a refurbished laptop confidently, whether you're reviewing a listing online or inspecting a device in person. If you're still weighing whether a laptop is even the right form factor for you, see our guide to tablet vs. laptop trade-offs before going further.

Seller and Grading Verification

Confirm the seller's refurbishment grade (e.g., Grade A, B, C) and verify what each grade actually means in their grading standard. Must
Check whether the device is manufacturer-certified refurbished or inspected by a third-party retailer — these have meaningfully different quality controls. Must
Review the seller's return policy and confirm you have at least 14 days to test and return the device. Must
Look for documented warranty coverage of at least 90 days; longer coverage (one year) is strongly preferable. Should

Physical Condition

Inspect the screen for dead pixels, backlight bleed, or discoloration by displaying a solid white image and then a solid black image. Must
Open and close the lid several times to test hinge tension — loose or stiff hinges often worsen over time. Must
Check the chassis, corners, and bottom panel for cracks, deep dents, or structural damage that could affect internal components. Must
Test every key on the keyboard and verify the trackpad registers taps, clicks, and multi-finger gestures correctly. Must
Examine all ports (USB, HDMI, headphone jack, SD card slot) by plugging in a device to each one. Should

Battery and Power

Use a battery health tool (such as the built-in Windows Battery Report or a third-party app on macOS) to check cycle count and current maximum capacity versus design capacity. Must
Confirm the charger included with the unit is the correct wattage for the model — mismatched chargers can damage the battery over time. Must
Run the laptop unplugged for 30 minutes during your test to verify the battery actually holds a charge at the reported level. Should

Performance and Internal Hardware

Cross-reference the listed processor, RAM, and storage specs against the device's System Information panel to confirm they match the listing. Must
Run a free storage health tool (such as CrystalDiskInfo on Windows) to check the SSD or HDD for reallocated sectors or other warning signs. Must
Stress-test the CPU and GPU for 10–15 minutes using a free benchmark tool to check for thermal throttling or unexpected shutdowns. Should
Confirm RAM capacity and whether any slots are still open if you want to upgrade later. Nice to have

Software and Licensing

Verify that the operating system is genuine and properly activated — on Windows, check Settings > Activation; on macOS, confirm the device is not tied to a previous owner's Apple ID. Must
Check that the device has been factory reset and contains no previous user data, accounts, or applications. Must
Confirm the OS version is still receiving security updates — outdated operating systems that no longer receive patches represent a security risk. Should
Run a malware scan using a reputable security tool before connecting the laptop to your home network or signing into any accounts. Should

Tools and Resources to Run Your Inspection

You don't need specialist equipment to run a thorough check — most of what you need is free software and a sharp eye. The tools below will help you verify hardware health, storage condition, and software legitimacy before you commit.

Required

Windows Battery Report

Generates a detailed battery health report showing design capacity, current capacity, and full charge cycles — run via Command Prompt with 'powercfg /batteryreport'.

Required

CrystalDiskInfo (Windows)

Reads S.M.A.R.T. data from the hard drive or SSD to flag early signs of storage failure before they become data-loss events.

Required

HWiNFO or CPU-Z

Displays detailed system hardware information so you can verify the processor, RAM, and storage match what the seller listed.

Optional

Cinebench or Prime95 (free stress-test tools)

Puts the CPU under sustained load to check whether the machine throttles performance or shuts down due to thermal issues.

Required

Dead Pixel Checker (browser-based)

Displays full-screen solid colors that make it easy to spot dead or stuck pixels on the display.

Don't Skip the Storage Health Check

A failing SSD or hard drive is the most expensive surprise a refurbished laptop can hide. Unlike a cracked hinge or a sticky key, storage issues may not be immediately visible during casual use. Always run a S.M.A.R.T. diagnostic tool before your return window closes — if the drive shows reallocated sectors or a 'Caution' status, treat it as a red flag. Replacing internal storage adds cost and complexity that can erode any savings from buying refurbished.

After You've Bought: First Steps

Once you've decided to purchase, your work isn't done. Run all diagnostics before your return window expires — most sellers allow 15 to 30 days. Create a restore point or system image as soon as the machine is configured to your liking. If any hardware check raises a yellow flag, contact the seller immediately and document everything in writing.

For help getting from first boot to a fully usable machine, our new laptop setup walkthrough covers updates, account configuration, and essential settings in plain language. And if you're building out a broader home tech ecosystem, the room-by-room home tech audit can help you see where this laptop fits in the bigger picture.

Verify Activation Before the Return Window Closes

An improperly licensed operating system can lock you out of security updates or trigger activation errors weeks after purchase. On Windows, navigate to Settings > System > Activation and confirm the status reads 'Windows is activated.' On a Mac, ensure the previous owner has signed out of iCloud and disabled Activation Lock under Apple ID settings. If either check fails, contact the seller immediately — this is a resolvable issue, but only if you act before the return period ends.

Tech & Gadgets Editorial Team is the collective byline for our editorial team and contributor network. Articles published under this byline or an editorial pen name are researched, written, and reviewed according to our editorial standards for clarity, consistency, and independence before publication.

View all articles by Tech & Gadgets Editorial Team →
Disclaimer: The content on this site is for informational purposes only and is not a substitute for professional advice. Always consult a qualified professional for guidance specific to your situation.