

Key Takeaways
Option A
Caulking
The permanent, stationary seal for gaps and cracks.
Best for: Sealing fixed joints where two surfaces meet and do not move, such as window frames against siding or baseboards against walls.
Option B
Weatherstripping
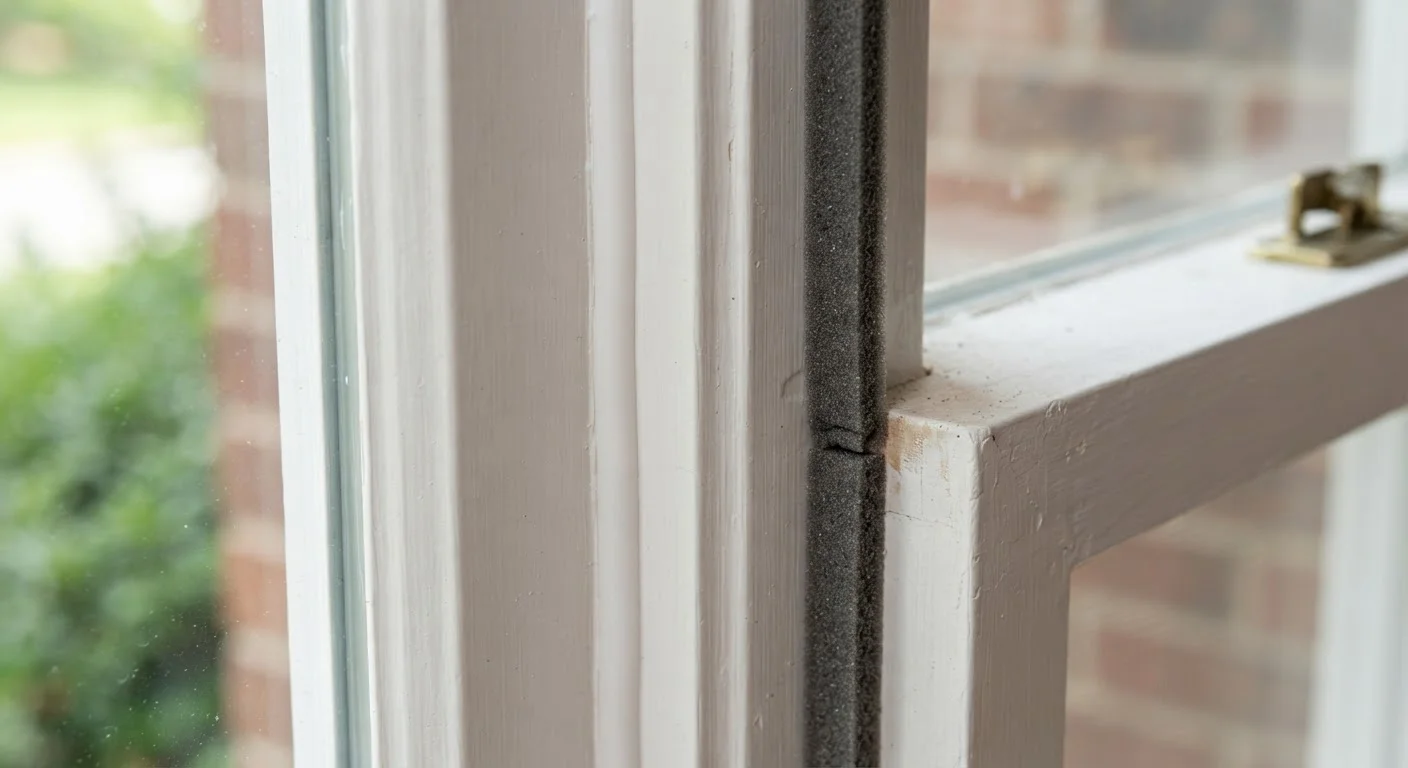
The flexible, compressible seal for moving parts.
Best for: Creating an air-tight barrier along movable components like door edges, window sashes, and attic hatches that open and close regularly.
If you're sealing the frame of a window where it meets exterior siding
Caulking
This is a fixed joint that does not flex with movement. A durable caulk forms a lasting, moisture-resistant bond between two stationary surfaces.
If you're stopping drafts around a door that opens and closes daily
Weatherstripping
Door edges compress and release every time the door operates. Weatherstripping is designed to maintain a seal under repeated movement without cracking.
If you're working on a double-hung window with both a fixed frame and a sliding sash
Both
Apply caulk where the fixed frame meets the wall or trim, and install weatherstripping along the sash channels where the movable panes slide.
If you're sealing interior gaps around baseboards or crown molding
Caulking
Interior trim gaps are stationary and primarily cosmetic or air-sealing concerns - paintable caulk fills them cleanly without restricting any movement.
Why the Distinction Matters
Walk through most hardware stores and you'll find caulk and weatherstripping sitting in the same aisle, aimed at the same general problem: stopping unwanted air and moisture from entering your home. But they are fundamentally different tools, and applying one where the other belongs leads to quick failure and wasted effort.
The core rule is simple: caulk seals stationary surfaces; weatherstripping seals moving surfaces. Caulk cures into a semi-rigid bead that bonds to two fixed surfaces permanently. Weatherstripping is a compressible material - foam, felt, rubber, or silicone - that can spring back after being compressed by a closing door or window sash.
When you apply caulk along a door stop where a door compresses against it repeatedly, the cured bead fractures within weeks. When you try to use foam tape in a fixed gap between window trim and siding, it will compress unevenly and won't create a durable moisture barrier. Matching the right product to the right location is the foundational skill of effective home air sealing.
As part of a broader seasonal maintenance routine, checking both your caulk and weatherstripping at least once a year can prevent the kind of slow water infiltration and energy loss that leads to expensive repairs.
Where Each One Belongs
Caulk belongs at fixed joints - places where two unlike materials meet and neither one moves. Common locations include:
- Window frames where they meet exterior siding or brick
- Door frames at the exterior wall plane
- Around pipes, conduits, or wires penetrating a wall or floor
- Interior trim, baseboards, and crown molding against walls
- Along the base of a bathtub or shower where tile meets a non-tile surface
For wet areas like kitchens and bathrooms, the type of caulk matters - silicone and siliconized latex formulas resist mold and moisture better than standard latex. For more on maintaining those joints, see our guide on grout and caulk maintenance in wet areas.
Weatherstripping belongs on movable parts - anything that opens, closes, or slides. Common locations include:
- Along the top, bottom, and sides of exterior door edges (door stops and door bottoms)
- Around window sashes where they slide or swing against the frame
- Attic access hatches and pull-down stair openings
- Garage door perimeters and bottom seals
| Criterion | Caulking | Weatherstripping |
|---|---|---|
| Surface type | Fixed, stationary joints | Movable parts (doors, sashes) |
| Material | Silicone, latex, or polyurethane | Foam, rubber, felt, or vinyl |
| How it seals | Cures into a rigid/semi-rigid bead | Compresses and springs back |
| Typical lifespan | 5-10 years (exterior) | 1-3 years (high-traffic doors) |
| Failure sign | Cracking, shrinkage, peeling | Flat foam, torn felt, hardened rubber |
| DIY difficulty | Low to moderate | Low |
| Common mistake | Applying over old, dirty caulk | Using wrong thickness for the gap |
When a door or window uses both - for example, a casement window where the frame is caulked to the wall but the sash swings shut against a compressible gasket - that's intentional. Both materials are doing their assigned job.
How to Inspect, Replace, and Maintain Each
Inspecting caulk: Look for cracking, peeling, shrinkage gaps, or discoloration. Old caulk often pulls away from one surface, leaving a visible gap. On exterior joints, a garden hose test can reveal water entry points. Re-caulking every five to ten years is a reasonable general guideline, though exterior exposure and temperature swings accelerate wear.
To re-caulk, remove the old material completely using a utility knife or caulk remover tool, clean and dry the surface thoroughly, and apply a fresh bead. Smooth it with a dampened finger or a caulk-finishing tool and allow full cure time before exposing the joint to water or weather.
When in Doubt, Use Both
Many windows and exterior doors require caulk and weatherstripping at different points in the same assembly. Caulk handles the fixed frame-to-wall interface while weatherstripping handles the operable sash or door panel. Treating them as competing options - rather than complementary ones - is a common source of incomplete sealing. Check each joint type independently and apply accordingly.
Inspecting weatherstripping: Close a door or window and feel along the edges on a windy day - any detectable airflow signals a failed seal. Visually, look for foam that's compressed flat and no longer springs back, felt that's matted or torn, or rubber gaskets that have hardened and cracked. Weatherstripping typically lasts one to three years in high-traffic locations like frequently used exterior doors, longer on windows used less often.
Replacement is generally a straightforward task: peel off adhesive-backed foam tape, or remove screw-mounted V-strip and door sweeps with a screwdriver. Matching the profile (thickness, shape, and compression type) to the existing channel makes re-installation much easier.
For a thorough pre-winter inspection of both, our article on seasonal tasks most homeowners skip walks through what to check before cold weather arrives. And if you're considering air sealing as part of a broader insulation project, understanding where different insulation types work best provides helpful context.