

Key Takeaways
Start here
Before You Power On
Next
SIM Card and Carrier Setup
Then
Restoring Your Contacts, Apps, and Data
Almost done
Essential Settings to Configure First
Finish up
What to Do With Your Old Phone
Before You Power On
Unboxing a new phone is exciting, but a few minutes of preparation now saves real frustration later. Before you press the power button, run through this short checklist:
- Charge it first. Plug in the phone and let it reach at least 50% battery. Setup downloads updates and restores data - both drain power quickly.
- Locate your SIM card or eSIM details. If you're moving from an old phone, your carrier may have mailed a new SIM or can text you an eSIM QR code. Have those ready.
- Know your account credentials. For iPhone, that's your Apple ID email and password. For Android, it's your Google account. You'll need these within the first few minutes of setup.
- Find your Wi-Fi password. Setup pulls down a lot of data. Using your home Wi-Fi keeps things fast and avoids mobile data charges.
If you haven't already set up a backup on your previous phone, now is the right moment - before you transfer anything. Our guide to backing up your phone explains exactly what gets saved and what doesn't, so you know what to expect on the other side.
SIM card
A small chip that connects your phone to your carrier's network, enabling calls, texts, and mobile data. Most modern phones use a nano-SIM, which is about the size of a fingernail.
eSIM
A digital SIM built into the phone's hardware. Instead of inserting a physical card, your carrier activates service remotely - often by scanning a QR code.
Cloud backup
An automatic copy of your phone's data (contacts, photos, app settings) stored on remote servers. iCloud handles this for iPhone; Google One or Google Drive handles it for Android.
Factory reset
A process that erases all personal data and returns a phone to the state it was in when first purchased. Used before selling, recycling, or giving away a device.
Quick Start / Switch
Device-transfer features (Quick Start on iPhone, Switch or Clone Phone on many Android devices) that move your data directly from your old phone to the new one without going through a cloud backup.
SIM Card and Carrier Setup
Your phone needs a connection to your carrier before it can make calls or use mobile data. There are two ways this happens: a physical SIM card or an eSIM.
Physical SIM
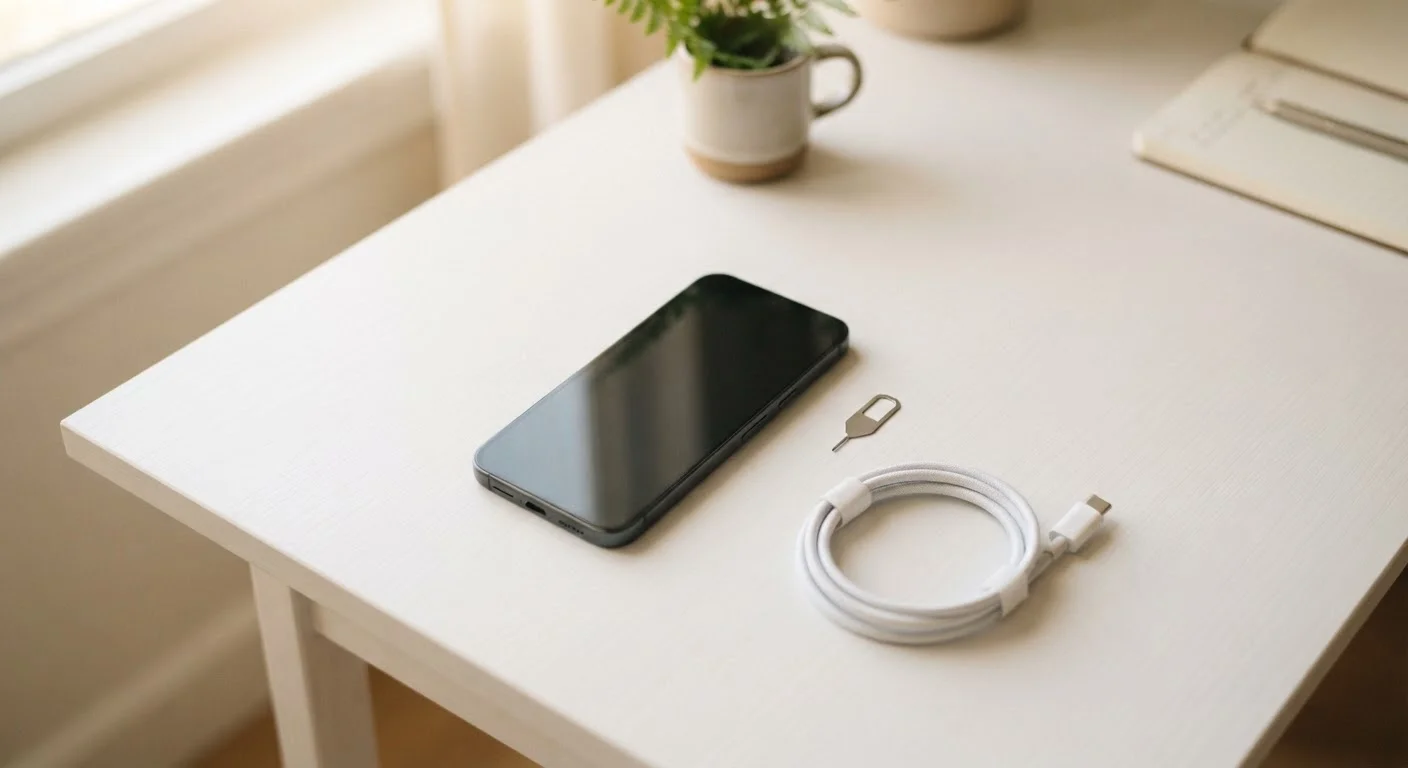
Most phones include a small tray on the side that holds a nano-SIM card. Use the ejector tool (usually included in the box, or a straightened paperclip works) to open the tray, place the SIM card in the correct orientation, and slide it back in. The phone should recognize the card within a few seconds of powering on.
eSIM
Many newer phones support eSIM - a built-in digital chip that your carrier activates remotely. During setup, you may be asked to scan a QR code from your carrier or enter an activation code. Contact your carrier ahead of time to confirm they support eSIM on your plan and to get the correct activation details.
Ask Your Carrier Before Setup Day
If you're switching to eSIM, contact your carrier a day before you plan to set up the phone. They can pre-generate an activation QR code so you're not waiting on hold mid-setup. This small step makes the SIM portion of setup nearly instant.
Once your SIM is recognized, the setup wizard will usually walk you through any remaining carrier activation steps automatically. If your phone shows "No Service" after setup completes, try restarting - it often resolves within a minute or two as the network registers your device.
Restoring Your Contacts, Apps, and Data
This is where setup does its most valuable work - moving your digital life from your old phone to the new one. The process differs slightly between iPhone and Android.
iPhone (iCloud or iPhone-to-iPhone)
If you backed up to iCloud, sign in with your Apple ID during setup and choose "Restore from iCloud Backup." Your contacts, app list, photos, and most settings will download automatically. Alternatively, if you have your old iPhone nearby, the "Quick Start" feature uses a camera scan to transfer data directly between devices over a local connection - no cables required.
Android (Google Account or Local Transfer)
Sign in with your Google account during setup and choose to restore from your most recent backup. Your contacts, app list, and core settings will sync down. Many Android manufacturers also include a "Switch" or "Clone Phone" app that can transfer data directly from the old device using a cable or Wi-Fi connection, which is useful if you have a large photo library.
Apps May Need to Re-download
Restoring from a backup brings back your app list and settings, but the apps themselves still need to download from the App Store or Google Play. This happens automatically in the background, but you'll need an internet connection and a bit of patience - especially if you have many large apps or games.
After setup, double-check that your contacts, photos, and most-used apps are all present before doing anything else. It's much easier to troubleshoot a missing transfer now than after you've reset your old phone.
Essential Settings to Configure First
Once your data is restored, spend a few minutes on settings that protect your phone and make daily use smoother. These five are worth doing before anything else:
- Screen lock and biometrics. Set up a PIN or passcode, then enroll your fingerprint or face ID. This protects your data if the phone is ever lost or stolen.
- Automatic updates. Enable automatic software updates in Settings. Updates patch security vulnerabilities and keep your phone running well - doing this early means you won't have to think about it later.
- Notification preferences. New phones default to allowing notifications from every app. Spend two minutes in Settings › Notifications and turn off anything you don't genuinely want pinging you.
- Display and accessibility. Adjust text size, brightness, and any accessibility features (like display zoom or bold text) to suit your eyes. These are easy to overlook but make a real difference day-to-day.
- Automatic backup. Make sure your new phone is set to back up automatically - either to iCloud or Google One. Our phone backup guide covers exactly how to verify this is running correctly.
For a broader look at keeping your phone in good shape over time, see our article on keeping your smartphone running well year after year.
What to Do With Your Old Phone
Once you've confirmed everything transferred successfully, decide what happens to your old device. There are a few sensible paths:
- Trade-in or recycle. Many carriers and manufacturers accept old devices. This is a reasonable way to responsibly dispose of a phone - check your carrier's current trade-in program for details.
- Repurpose it. An old smartphone without a SIM can still work over Wi-Fi as a media player, alarm clock, or dedicated camera for a child.
- Wipe it securely. If you're passing the phone on or recycling it, perform a factory reset first. On iPhone, go to Settings › General › Transfer or Reset iPhone › Erase All Content and Settings. On Android, go to Settings › General Management › Reset › Factory Data Reset. This removes your personal data from the device.
Never wipe your old phone until you've confirmed the new one has everything you need. Once erased, locally stored data that wasn't backed up is gone for good.
For a broader overview of the full smartphone ownership journey - from choosing a device to managing it over time - the complete smartphones and tablets guide is a useful companion.