

Key Takeaways
Assessing the Damage Before You Start
Drywall damage falls into three general categories, each requiring a different approach. Nail pops and hairline cracks are surface-level issues. Holes up to about six inches - common from doorknob impacts or small anchor removals - need a mesh or self-adhesive patch. Larger structural holes require a cut-out and replacement section with backing support.
Before reaching for any materials, check the area around the damage. Press gently on the surrounding wall to confirm the drywall is still solidly attached to studs. If sections feel soft, crumble, or show water staining, the underlying cause needs to be addressed first - a surface repair over moisture damage won't hold. For guidance on when a project exceeds DIY territory, see our guide to safe vs. risky DIY repairs.
What you will need
Tools and Materials You'll Need
Having everything staged before you begin keeps the process efficient and reduces the chance of rushing steps that need drying time.
Putty knife or drywall knife (4-6 inch)
Applies and feathers joint compound over small repairs and mesh patches.
Wide taping knife (10-12 inch)
Spreads compound over larger patches in smooth, broad strokes for a flat finish.
Self-adhesive mesh patch
Bridges holes up to about 6 inches without requiring a backing board.
All-purpose joint compound
Fills and finishes repaired areas; lightweight versions sand more easily.
Drywall screws and backing board or wood strip
Provides structural support for cut-in drywall patches on larger holes.
Sandpaper (120-grit and 220-grit)
Smooths each dried compound coat and prepares the surface for primer.
Drywall primer (PVA)
Seals the repaired area so paint absorbs evenly and prevents flashing.
Sanding sponge
Useful for feathering edges in tight corners where flat sandpaper is awkward.
Step-by-Step Repair Instructions
Work through these steps in order. Skipping ahead - especially before compound dries - is the most common source of failed repairs.
Clean and Prep the Damaged Area
Remove any loose paper, crumbled gypsum, or protruding nails around the damage. For nail pops, drive the nail back slightly below the surface with a hammer and nail set, then add a drywall screw an inch above and below to re-secure the panel. Wipe dust from the area with a dry cloth.
Apply a Patch or Cut-In Section
For holes up to 6 inches: Center a self-adhesive mesh patch over the hole and press firmly to the wall. For holes over 6 inches, use a drywall saw to cut a clean rectangle around the damage, exposing the neighboring studs or install horizontal wood backing strips inside the opening. Cut a replacement drywall piece to fit, secure it with drywall screws, and apply mesh tape over all seams.
Apply the First Coat of Joint Compound
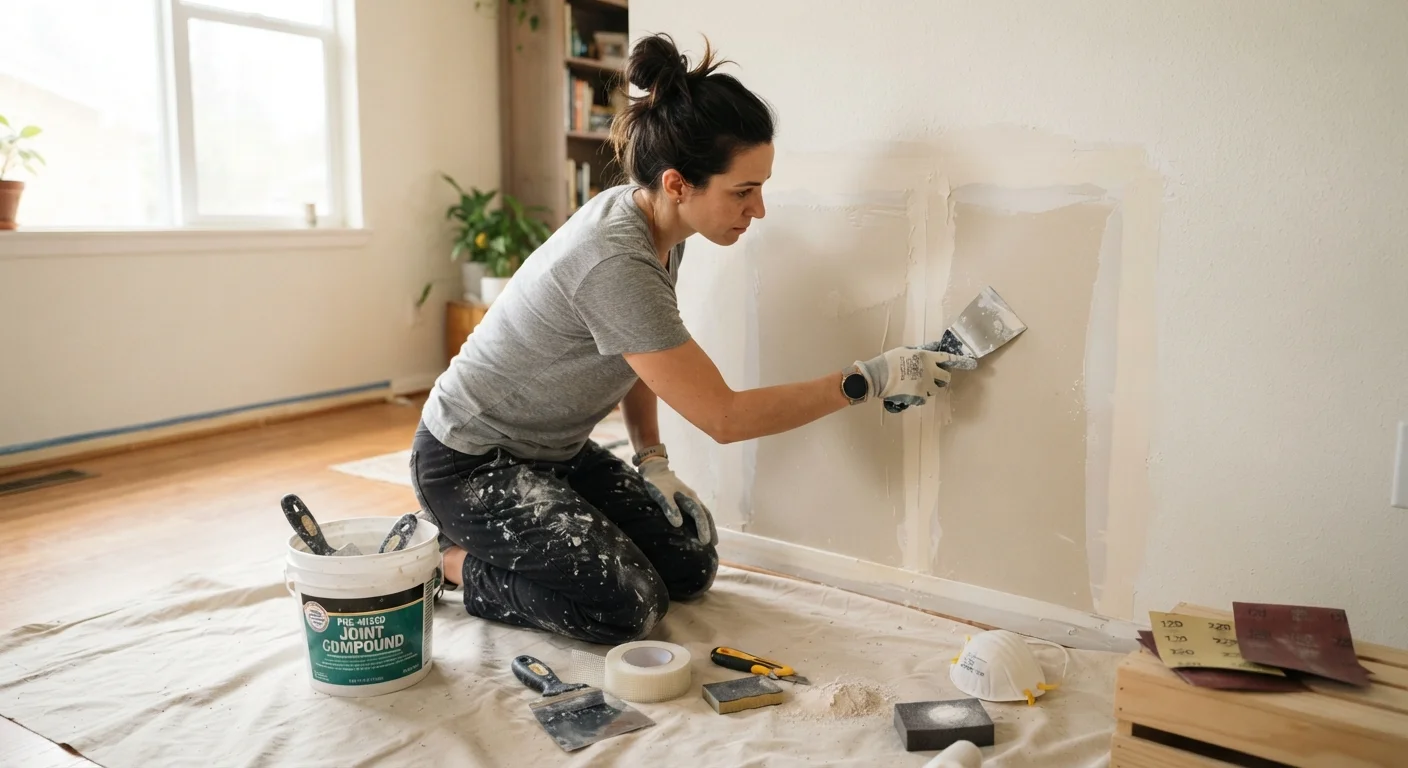
Load your putty knife with compound and spread it over the patch or filled area, pressing firmly so it bonds through the mesh. Feather the edges outward at least 2-3 inches beyond the patch border. The first coat will look rough - that's expected. Scrape off excess ridges before they dry to reduce sanding later.
Sand, Then Apply Second and Third Coats
Allow the first coat to dry completely - typically 24 hours at room temperature, longer in humid conditions. The compound should be uniformly white with no dark wet spots. Sand lightly with 120-grit sandpaper, then wipe dust away. Apply a second coat, widening the feathered area by an additional 2-3 inches. Repeat with a third coat if needed, feathering even further for a seamless blend. Final sanding uses 220-grit for a smooth surface.
Prime and Paint the Repaired Area
Apply one coat of drywall primer to the repaired zone and allow it to dry per product directions. Once primed, paint the repaired section first to check coverage, then blend into the surrounding wall. You may need two finish coats to match sheen and coverage, especially if the existing wall paint has aged.
Let Drying Time Do the Work
One of the most common reasons drywall repairs fail is applying the next coat too soon. Even if compound feels dry on the surface, the center may still hold moisture that causes cracking or adhesion problems. Use drying time productively - sand a previous repair while a fresh coat cures elsewhere in the room.
Finishing: Texture, Prime, and Paint
A smooth, invisible repair depends as much on finishing as on the patch itself. Once your final compound coat is fully dry and sanded flush, run your hand across the surface. Any ridges you feel now will be amplified under paint.
If the original wall has texture - orange peel, knockdown, or skip-trowel - you'll need to replicate it before priming. Test your technique on a piece of scrap cardboard first. Spray texture in short bursts from about 18 inches away, or apply knockdown texture with a wide knife and let it partially set before lightly flattening the peaks.
Prime the repaired area with a drywall primer or PVA primer before painting. Skipping primer causes the fresh compound to absorb paint differently than the surrounding wall, creating a dull spot called flashing even after multiple paint coats. If you're planning to add wall art or shelving nearby afterward, check our gallery wall planning guide to avoid new nail holes in freshly repaired drywall.
Don't Skip the Primer Step
Joint compound is highly porous and absorbs paint very differently than the surrounding wall surface. Painting directly over unprimed compound almost always results in visible flashing - a dull, chalky patch even after multiple paint coats. PVA primer is inexpensive and adds only one step, but it makes the difference between a repair that blends in and one that stands out.