

Key Takeaways
Why Planning Makes All the Difference
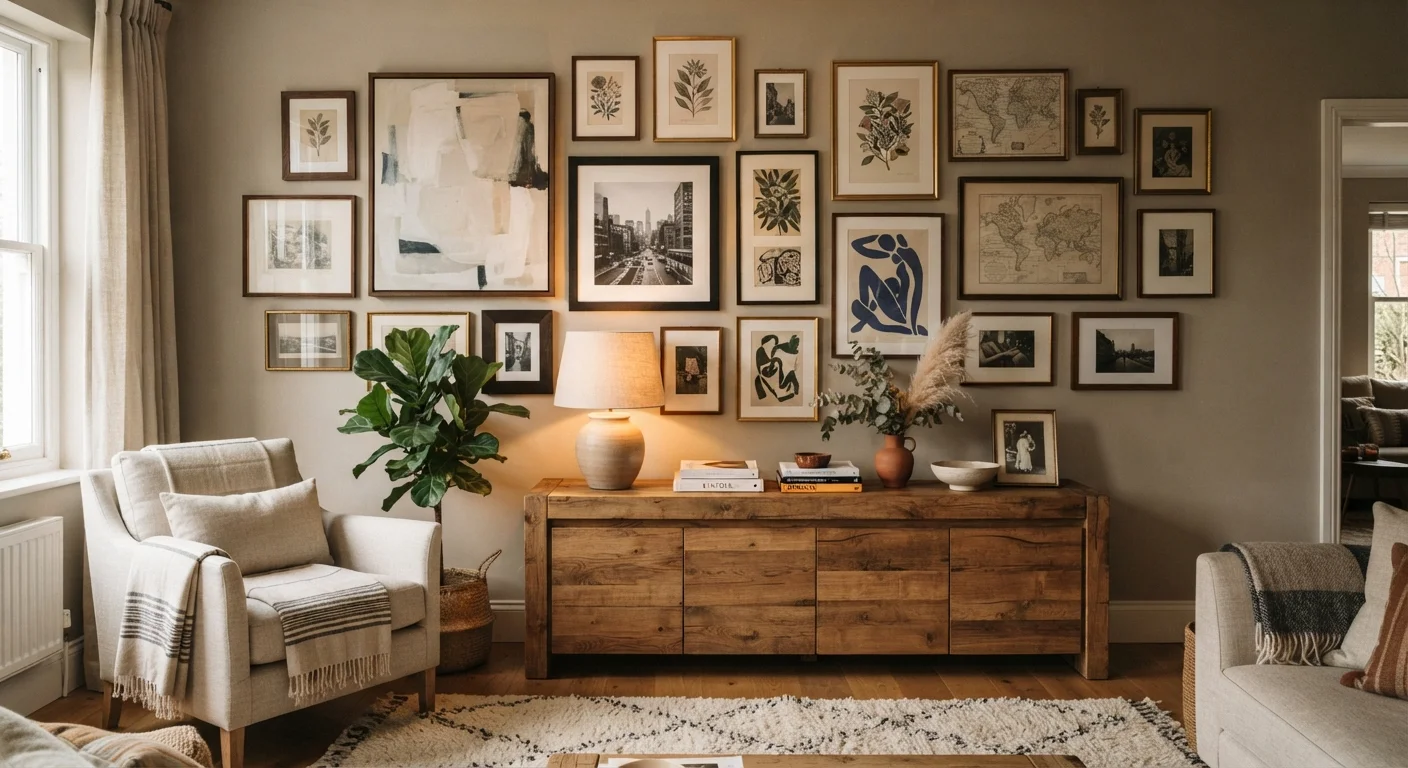
A gallery wall looks effortless when it's done well - and that apparent ease is entirely the product of careful planning done out of sight. Without a layout strategy, most people end up with frames that feel randomly scattered, uneven gaps, or a cluster that's noticeably off-center. The good news: none of this requires design training. It requires measuring, a little paper, and patience before the first nail goes in.
Gallery walls are one of the most effective ways to make a room feel finished and personal. As explored in the design principles that make rooms feel complete, it's often the layered, intentional details - not expensive furniture - that give a space its character. A well-executed gallery wall is exactly that kind of detail.
It's also worth considering the alternative: if your instinct leans toward a cleaner, more minimal look, using negative space as a design tool can be equally powerful. But if you're committed to a collection on the wall, the steps below will walk you through the process from empty wall to finished display.
What you will need
What You'll Need
You don't need specialized tools to plan and hang a gallery wall successfully. The essentials are items most households already have or can easily acquire. A few key additions - particularly paper templates and painter's tape - make a significant difference in the outcome.
Tape measure
Measures the wall dimensions and calculates spacing between frames accurately.
Painter's tape
Marks frame outlines on the wall so you can preview placement without committing to nails.
Kraft paper or newspaper
Used to trace frame backs and cut paper templates for floor and wall planning.
Level
Ensures each frame is hung straight, individually and relative to neighbors.
Laser level
Projects a horizontal guide line across the wall for faster, more precise alignment on large arrangements.
Step-by-Step: Planning and Hanging Your Gallery Wall
Follow these steps in order. The temptation to skip the planning phases and go directly to hanging is understandable, but the floor layout and tape mockup steps are where most of the real decision-making happens - and where mistakes are still easy to undo.
Plan First, Nail Second
The single most common gallery wall mistake is skipping the floor layout step and going straight to the wall. Every nail hole you make is a commitment. Taking 20-30 extra minutes on the floor to finalize your arrangement nearly always produces better results and far fewer patch jobs.
Measure your wall and define the display area
Use a tape measure to record the full width and height of the wall. Then decide on the footprint of your gallery - not every arrangement needs to fill the entire wall. A common approach is to treat the collection as a single visual block: map out a rectangle that feels proportional to any furniture below it, leaving roughly 6-8 inches between the top of a sofa or console and the lowest frame.
Gather all pieces and identify a unifying element
Lay everything you're considering on a large flat surface - a floor or a dining table works well. Look for a common thread that will hold the arrangement together visually. This might be consistent frame color (all black, all natural wood), a shared mat color, a repeating subject in the art, or even a similar print style. You don't need everything to match perfectly, but one shared quality prevents the wall from feeling random. For more on using mixed styles cohesively, see how to blend different design elements without visual chaos.
Create paper templates for each frame
Place each frame face-down on kraft paper or newspaper and trace its outline. Cut out the templates and label them on the front with a brief description (e.g., "8×10 landscape photo" or "12×16 abstract print"). This step lets you move pieces around freely on the floor and later on the wall without risking your artwork.
Arrange the layout on the floor
Using the wall dimensions you recorded, recreate that space on the floor using tape or by measuring out the area. Place your paper templates within that boundary and experiment with arrangements. A common starting point: place the largest or most visually dominant piece near the center, then build outward. Keep 2-3 inches of space between each frame - even spacing reads as intentional. Step back and assess from a standing position, not just while crouched over the floor.
Transfer the layout to the wall using painter's tape
Once you've settled on a floor arrangement, recreate it on the wall using the paper templates. Tape each template to the wall with painter's tape, checking that the overall group is centered on the wall (or centered above a furniture piece, depending on your intent). The center of the entire arrangement should sit at roughly 57-60 inches from the floor - the standard eye-level used in most gallery and museum settings. Step back repeatedly and assess alignment and spacing.
Mark nail positions and begin hanging
Using the hardware marks you made on each template in Step 3, push a pencil through the template at the nail point to mark the wall directly. Remove the template, then drive your nail or hook at that mark. Hang each piece and use a level to check it before moving on. Work from the center outward to maintain balance. Once all frames are up, remove any remaining painter's tape and step back for a final review.
Start Simple, Then Expand
If the planning feels overwhelming, begin with just three to five pieces and treat them as a complete arrangement. A smaller, tighter grouping often makes a stronger impression than a sprawling one. You can always expand the collection over time by working outward from the original anchor pieces.
Common Missteps and How to Avoid Them
Even with careful planning, a few predictable issues come up. Here's what to watch for:
- Hanging too high. The default instinct is to place art higher than it should go. The 57-60 inch center-of-arrangement guideline corrects for this in most standard-ceiling rooms.
- Inconsistent spacing. Gaps between frames that vary from 1 inch to 5 inches read as accidental rather than designed. Decide on a spacing number and stick to it throughout.
- No visual anchor. Without one dominant piece or a clear organizational logic (grid, organic cluster, horizontal row), arrangements can feel like a collection of leftovers. Identify your anchor before you start building outward.
- Ignoring the room context. A gallery wall doesn't exist in isolation. Consider how it relates to paint color, furniture scale, and lighting. For help thinking about walls as part of a broader design decision, see when wall treatments add to a room versus working against it.
Check Before You Hang
Before driving any nails, check the wall surface. Drywall, plaster, brick, and tile each require different hardware. If you end up with unwanted holes, small repairs are manageable - see how to fix drywall holes of various sizes for a practical repair guide. Always use appropriate anchors for heavier pieces.
With the layout fully planned and your hardware in hand, the actual hanging goes quickly. The preparation is the project - the nails are just the last step.