

Key Takeaways
Why Caulking Deserves More Respect
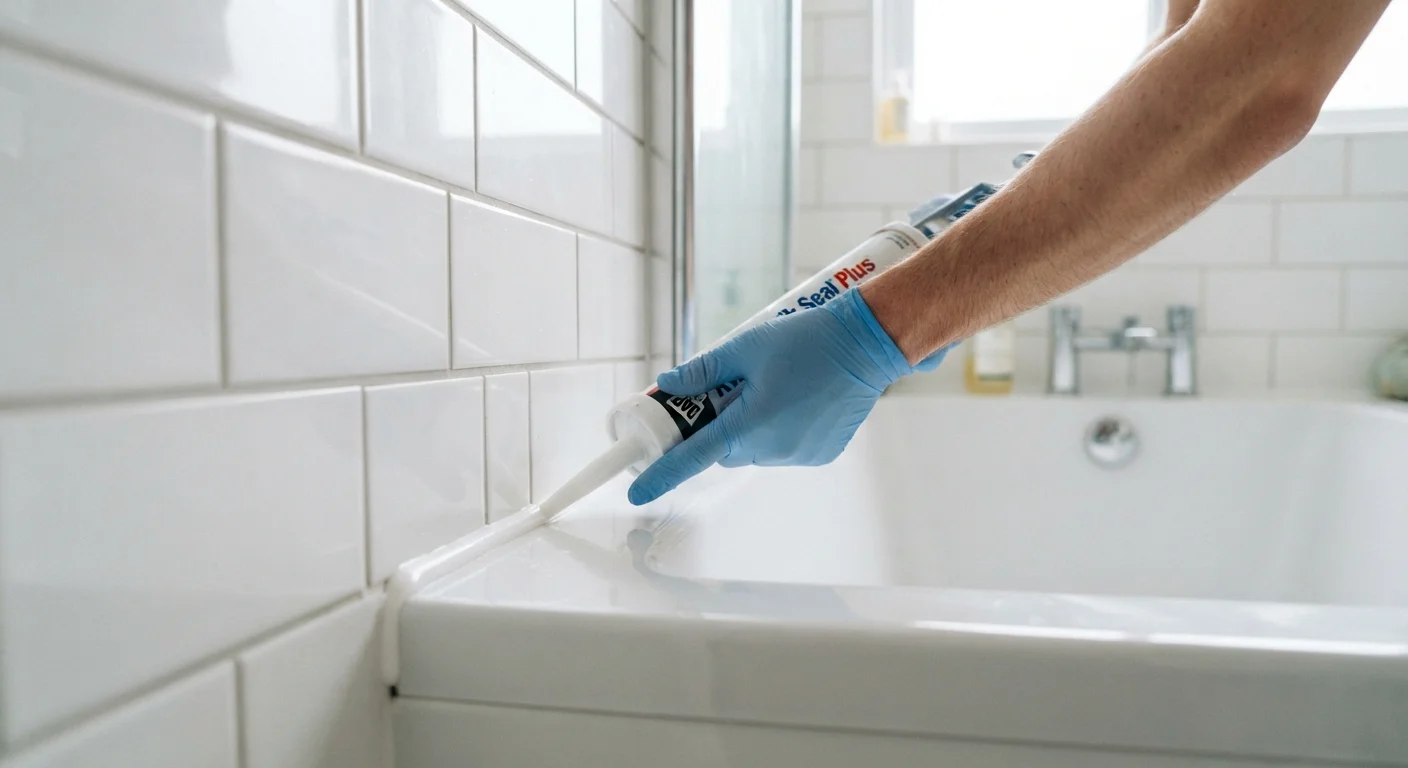
Caulking sits quietly at the intersection of nearly every home system - plumbing, insulation, weatherproofing, and finish work - yet it rarely gets the credit it deserves. A failed caulk joint in a shower can allow water to migrate behind tile and into subfloor framing for months before any visible damage appears. A missing bead along a window frame lets conditioned air escape all winter. Despite this, caulking is often treated as a cosmetic afterthought rather than a structural-level defense.
The skill matters not just in new construction but as an ongoing maintenance habit. As part of any seasonal maintenance routine, inspecting and refreshing caulk joints prevents small vulnerabilities from becoming expensive repairs. The investment is modest - a tube of appropriate caulk and two hours of careful work can protect surfaces worth thousands of dollars.
“Water is the single greatest threat to a home's structural integrity, and most of its entry points could be closed with a tube of caulk and twenty minutes of attention.”
— Danny Lipford, Home improvement expert and host of Today's Homeowner with Danny Lipford
Choosing the Right Caulk for the Right Joint
Not all caulk is interchangeable, and selecting the wrong formula is one of the most common mistakes homeowners make. Here's a practical breakdown:
- 100% silicone: Superior water and mold resistance. Best for tub-to-tile joints, around sink rims, and exterior window frames. It doesn't accept paint and can be harder to tool smoothly.
- Acrylic latex (with silicone additive): Easier to apply and paintable. Appropriate for interior trim, baseboards, and low-moisture areas around door and window casings.
- Siliconized latex (hybrid): Combines workability with improved moisture resistance. A reliable all-around choice for many interior applications.
- Polyurethane: Exceptionally durable for exterior masonry, concrete joints, and areas subject to movement or heavy UV exposure.
For wet areas specifically, caulk and grout work together - and knowing which material belongs in which joint is fundamental to keeping tile assemblies watertight. Also note that caulking and weatherstripping address different problems; if you're sealing operable gaps like door bottoms, see when to use weatherstripping instead.
Best Practices for a Professional-Looking Result
Technique separates a seal that lasts from one that peels within months. Apply these practices consistently and the results will hold up far longer than a rushed bead ever could.
Remove all old caulk completely before applying a new bead.
Applying new caulk over deteriorated or partially intact old caulk creates a weak bond that is likely to fail quickly. The surface beneath old caulk is often contaminated with mold, soap residue, or loose material that prevents proper adhesion.
Cut the caulk tube nozzle at a shallow angle to control bead width.
A nozzle cut too wide produces excess material that's difficult to smooth and wastes product. A 45-degree cut at or near the tip allows precise control over how much caulk exits the tube as you move.
Apply caulk in a single continuous pass without stopping mid-joint.
Starting and stopping creates overlap points and uneven texture that are harder to smooth and more prone to cracking. A steady, consistent pace keeps the bead uniform in width and depth.
Tool the bead immediately after application with a dampened finger or caulk tool.
Smoothing pushes caulk into the joint for better adhesion and creates a concave surface that sheds water rather than pooling it. The window for tooling is short - most formulas begin skinning within a few minutes.
Tape masking tape along both edges of the joint before applying caulk.
Tape creates clean, straight lines and eliminates messy cleanup on finished surfaces like tile or painted trim. It's especially useful on high-visibility joints where aesthetics matter as much as function.
Allow full cure time before exposing the joint to water or stress.
Rushing the cure is a leading cause of premature caulk failure. Silicone may skin over in an hour but typically needs 24 hours to cure fully; some formulations require longer in cool or humid conditions.
Quick Wins You Can Do This Weekend
You don't need a full home audit to start protecting your home with better caulking. Several high-impact spots can be addressed in a single afternoon with minimal tools.
If you're planning a larger project - like adding a bathroom- building proper caulk habits from the start will save significant rework later. And as cold weather approaches, addressing caulk before winter is one of the highest-return tasks on any seasonal checklist.