

Key Takeaways
Summary
22 items · 5-15 minutes
Why a Pre-Trip Check Is Worth Every Minute
Most vehicle-related breakdowns and many crashes have one thing in common: a problem that was detectable before the driver left home. A tire slowly losing pressure, a brake light that burned out last week, a coolant level that dropped quietly over several days - none of these announce themselves dramatically until something goes wrong at the worst possible moment.
A structured pre-trip walkthrough doesn't require mechanical skill. It requires consistency. Drivers who build even a basic version of this habit dramatically reduce the odds of being stranded on the shoulder or contributing to a collision caused by a missing light or steering pull they simply hadn't noticed.
This checklist is part of a broader approach to vehicle readiness covered in the Safe Driving from Start to Finish guide. Use it before any trip - not just long ones. Problems don't care how far you're driving.
Tire pressure gauge
Accurately measures tire PSI so you can compare against your vehicle's recommended pressure.
Flashlight or phone torch
Illuminates tires, undercarriage, and under-hood components during low-light checks.
Portable tire inflator
Allows you to top up a slightly low tire at home rather than driving on underinflated rubber.
Owner's manual
Provides vehicle-specific fluid capacities, warning light meanings, and recommended service intervals.
Your Pre-Trip Safety Walkthrough
Work through the groups below in order. The exterior check and cockpit check together take most drivers under ten minutes once the routine is familiar. If you spot anything that raises a concern - an unusual noise, a warning light you don't recognize, a tire that looks noticeably lower than the others - don't dismiss it. Address it before you drive.
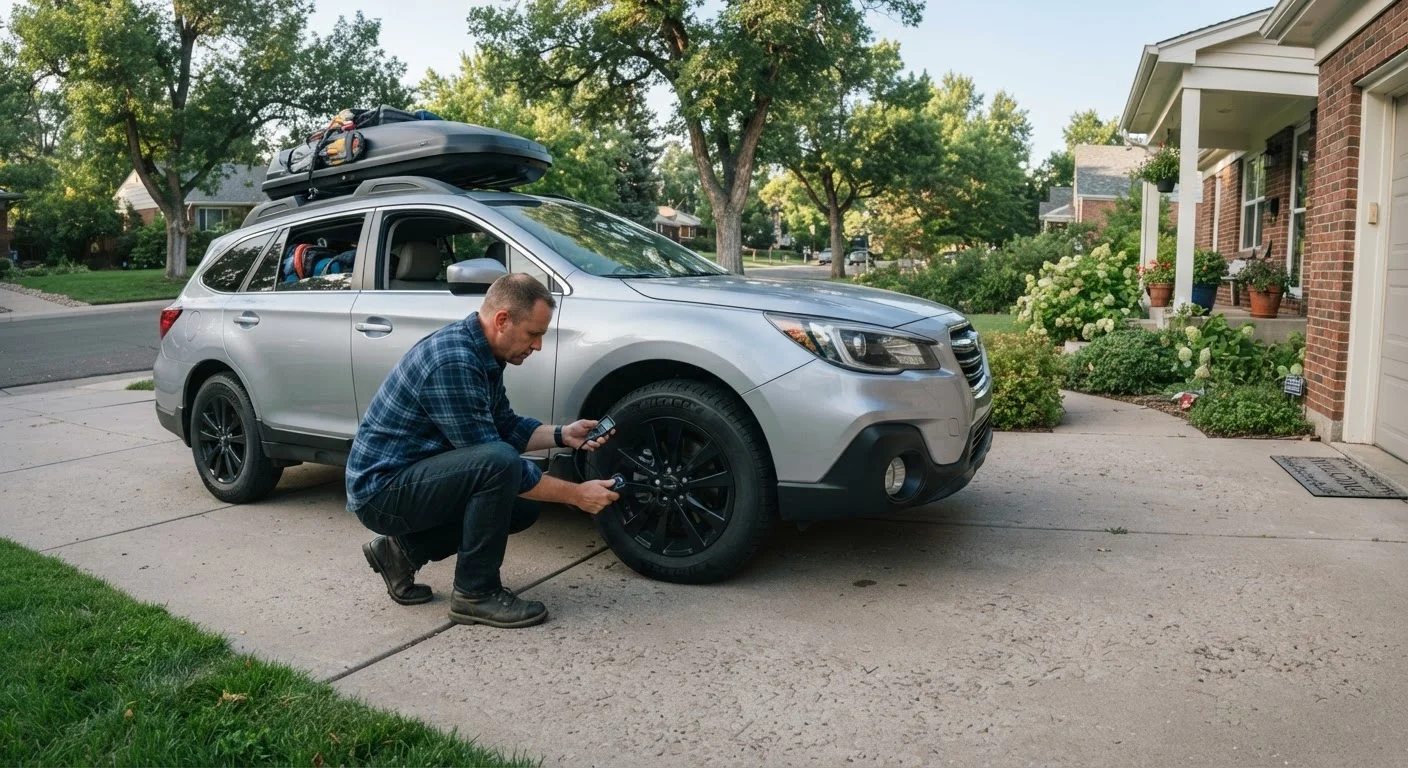
Exterior - Tires
Exterior - Lights and Visibility
Under the Hood - Fluid Levels
Inside the Cabin - Controls and Mirrors
Emergency Preparedness
A Visual Check Is Not a Mechanical Inspection
This pre-trip walkthrough catches obvious, visible problems - it is not a substitute for scheduled maintenance or a professional inspection. Brake system integrity, suspension wear, and belt condition, for example, require hands-on evaluation by a qualified mechanic and cannot be reliably assessed from the driveway. If your vehicle is overdue for service, use this checklist alongside - not instead of - a proper service appointment.
For issues that go beyond a quick pre-trip adjustment - things like brake feel changes, persistent warning lights, or fluid leaks - consult a qualified mechanic before driving. These checks are designed to catch obvious problems, not to replace professional service. See the annual car maintenance checklist for deeper vehicle care across the year.
Adapting This Routine for Season and Conditions
Your pre-trip priorities shift with the weather. In winter, tire tread depth and pressure matter even more - cold air causes tire pressure to drop roughly one PSI for every 10°F drop in temperature, meaning a tire that was fine in autumn may be underinflated by January. Wiper blade condition and washer fluid freeze point also move up the priority list. The Seasonal Car Maintenance guide walks through what changes to make to your vehicle before each season.
Before driving in rain, snow, or ice, also confirm that all lights are functioning and your defrost systems clear the glass fully before you move. Reduced visibility conditions leave almost no margin for equipment failures. See Weather Behind the Wheel for how to adjust your driving once conditions deteriorate.
Once you're on the road, the habit of scanning ahead - not just reacting to what's directly in front of you - extends the same safety mindset that starts in the driveway. Reading the Road covers the scanning techniques that give you more time to respond to hazards.
Don't Drive Through a Warning Light
If a dashboard warning light stays on after the engine is running - particularly the brake warning, oil pressure, or engine temperature light - do not assume it is a sensor glitch and drive anyway. These systems are designed to alert you to conditions that can cause rapid, serious damage or a loss of vehicle control. Have the vehicle inspected before driving if you are unsure what a warning light means.