
Renting and Redecorating: What You Can Actually Change Without Losing Your Deposit

Key Takeaways
Summary
22 items · 20-40 minutes
Why Renters Fear Redecorating-and Why They Don't Have To
Many renters live in spaces that never quite feel like their own-white walls untouched, blank shelves left bare-out of fear that any change will cost them their security deposit. That caution is understandable, but it often goes too far. The reality is that a wide range of decorating moves are completely reversible, leave no lasting damage, and are broadly accepted by landlords when done thoughtfully.
The key is understanding the difference between alterations (permanent changes to the property) and enhancements (temporary, removable additions). Most leases prohibit the former; the latter are rarely a problem-and sometimes not addressed at all.
Before you pick up a paintbrush or drill, take two steps: read your lease thoroughly, and photograph every room in its original condition. These habits protect you regardless of what you change. For a broader look at how responsibilities are divided between renters and owners, see who's responsible for what in a rental.
Before You Change Anything
Walls and Vertical Surfaces
Floors and Rugs
Lighting and Fixtures
Hardware and Small Fixtures
Move-Out Preparation
What You'll Need Before You Start
Having the right supplies on hand makes renter-friendly decorating easier and safer for your deposit. Most items below are widely available at hardware, home goods, and craft stores.
Removable adhesive wall strips
Hang art, shelves, and mirrors without drilling holes into drywall.
Peel-and-stick wallpaper
Add pattern and color to walls with a product designed to remove cleanly.
Non-slip rug pads
Protect flooring beneath area rugs and keep rugs in place safely.
Spackle and touch-up paint
Repair any small nail holes or scuffs before moving out.
Tension rods (various sizes)
Hang curtains, shower curtains, or dividers without hardware installation.
Labeled zip-lock bags or containers
Store original hardware, screws, and fixture parts so nothing gets lost before move-out.
Plug-in lighting (sconces, pendants)
Improve room ambiance without touching existing wiring or electrical boxes.
Removable contact paper
Refresh cabinet interiors, shelves, or countertop surfaces temporarily.
Smart Approaches by Room and Surface
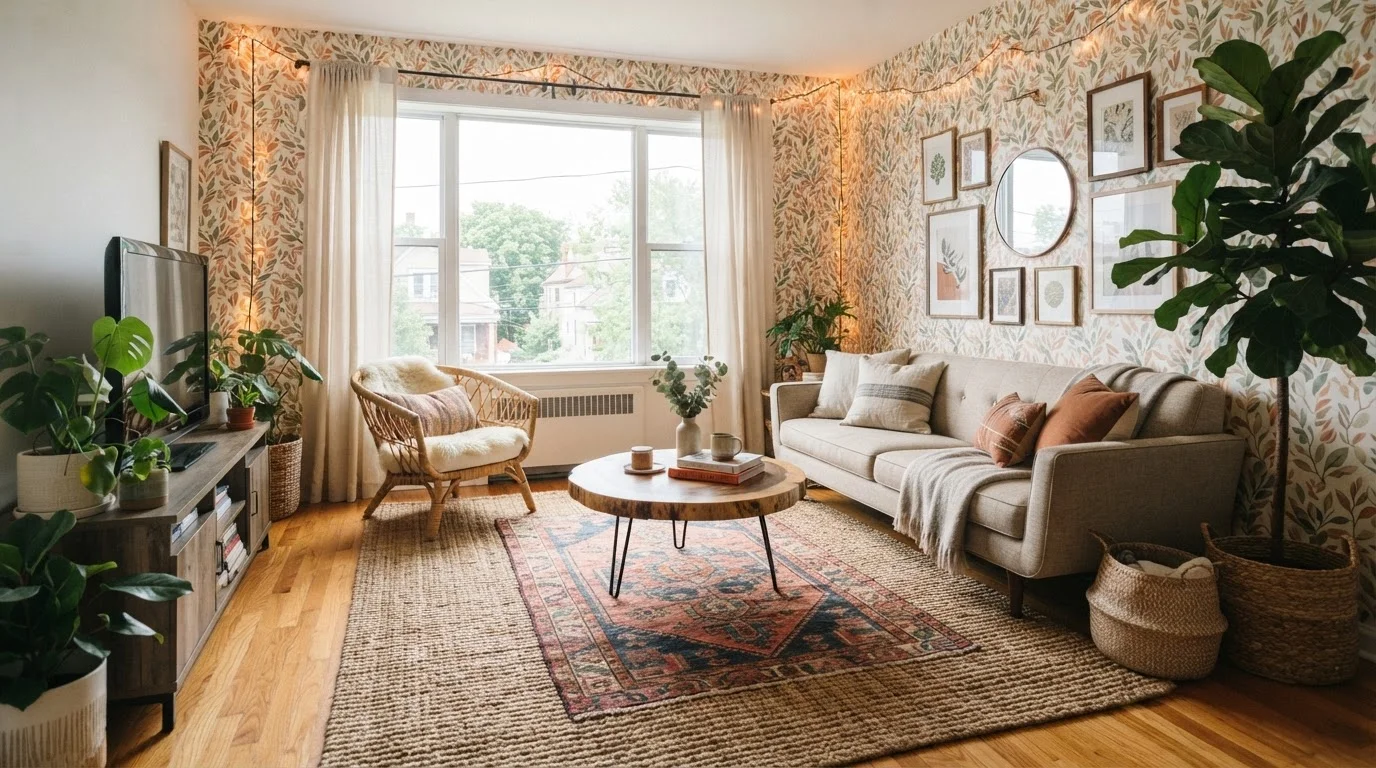
Once you understand which changes are safe, you can apply that logic to every surface in your home. Walls are the biggest concern for most renters-and the most improvable with the right products. Peel-and-stick wallpaper has matured significantly and removes cleanly from most painted drywall when applied and removed according to instructions. Removable wall panels and fabric wall hangings hung with adhesive strips give you texture and color with zero nail holes.
Floors are often overlooked as a design surface. A large area rug can completely transform a room's feel, cover worn or dated flooring, and anchor a furniture arrangement-all without touching the subfloor. For smaller spaces, layering rugs adds visual warmth. See layout strategies for smaller rooms for ideas on making the most of limited square footage.
Lighting is one of the highest-impact, most underused levers in a rental. Swapping a builder-grade fixture for a pendant or semi-flush mount is possible if you keep the original and reinstall it before move-out. For zero-risk impact, plug-in sconces, floor lamps, and LED strip lighting behind furniture can dramatically shift a room's mood without touching a single wire unsafely.
Electrical Work Is Not a DIY Renter Task
Swapping a light bulb is one thing; rewiring a fixture, adding a ceiling fan where none existed, or modifying any circuit is another. Electrical alterations typically require permits, a licensed electrician, and explicit landlord consent. Attempting this work without all three can void your rental agreement, create a safety hazard, and result in costs far exceeding your deposit.
Test Adhesive Products Before Full Application
Not all painted walls respond the same way to removable adhesive products. On older paint, flat finishes, or walls with prior repairs, even 'removable' adhesives can pull off paint when removed. Always test a small inconspicuous area first, leave it for 24 hours, and check the result before committing to a full installation.
For design inspiration that works in any space-rented or owned-understanding where to invest in décor and using negative space intentionally are both worth exploring.
Verbal Permission Isn't Enough
If your landlord gives you permission to paint, install a shelf, or swap a fixture, get it in writing-an email exchange is sufficient. Verbal agreements are difficult to prove in a dispute, and landlord turnover during your tenancy means the person you spoke to may not be there at move-out. A paper trail protects both parties and keeps expectations clear.