

Key Takeaways
Why Gutters Matter More Than Most Homeowners Realize
Gutters do one job: channel rainwater away from your home's foundation, walls, and landscaping. When they fail - whether from clogs, sagging, or cracks - that water has to go somewhere, and it typically ends up where you least want it.
Overflowing gutters are a leading contributor to basement moisture problems. Water pooling at the base of your home saturates the soil, increases hydrostatic pressure against foundation walls, and can eventually cause cracking or seepage. You can learn more about how this plays out in our guide to basement moisture control.
Beyond the foundation, misdirected water soaks into fascia boards (the boards gutters attach to), promotes wood rot, damages siding, and can work its way under roofing materials - a process explored in why small roof leaks become big problems. Keeping gutters clear and properly pitched is genuinely one of the highest-return maintenance habits a homeowner can build.
Gutter Failure Affects More Than Just Water Flow
Clogged or detached gutters don't just overflow - they can silently damage fascia boards, saturate soil against your foundation, accelerate siding deterioration, and contribute to ice dam formation in cold climates. By the time visible damage appears on interior walls or floors, water intrusion may have been occurring for months. Addressing gutter problems early is nearly always far less expensive than repairing the downstream damage they cause.
How Often to Clean Your Gutters
For most homes, twice a year is the baseline: once in late spring after tree pollen and seed pods finish falling, and once in late fall after leaves have dropped. That schedule aligns with the seasonal maintenance rhythm many professionals recommend.
Adjust frequency based on your site conditions:
- Heavy tree cover overhead: Consider quarterly cleaning or installing gutter guards.
- Pine trees nearby: Pine needles shed year-round and mat together quickly - clean every three to four months.
- Minimal tree cover: An annual cleaning may suffice, but always inspect after major storms.
2x/year
Minimum recommended gutter cleaning frequency
Most roofing and home maintenance professionals recommend cleaning gutters at least twice annually for average residential properties.
$4,000+
Potential cost of foundation repairs from water damage
Foundation repairs caused by chronic water intrusion - often traced back to gutter failure - can range from hundreds to tens of thousands of dollars depending on severity.
20 years
Typical lifespan of aluminum gutters
Aluminum gutters generally last around 20 years with routine maintenance; galvanized steel and vinyl may have shorter lifespans depending on climate and upkeep.
Gutters are also worth adding to your pre-winter checklist, since ice dams often start with gutters clogged by fall debris that traps snowmelt against the roofline.
Step-by-Step: Cleaning Gutters Safely
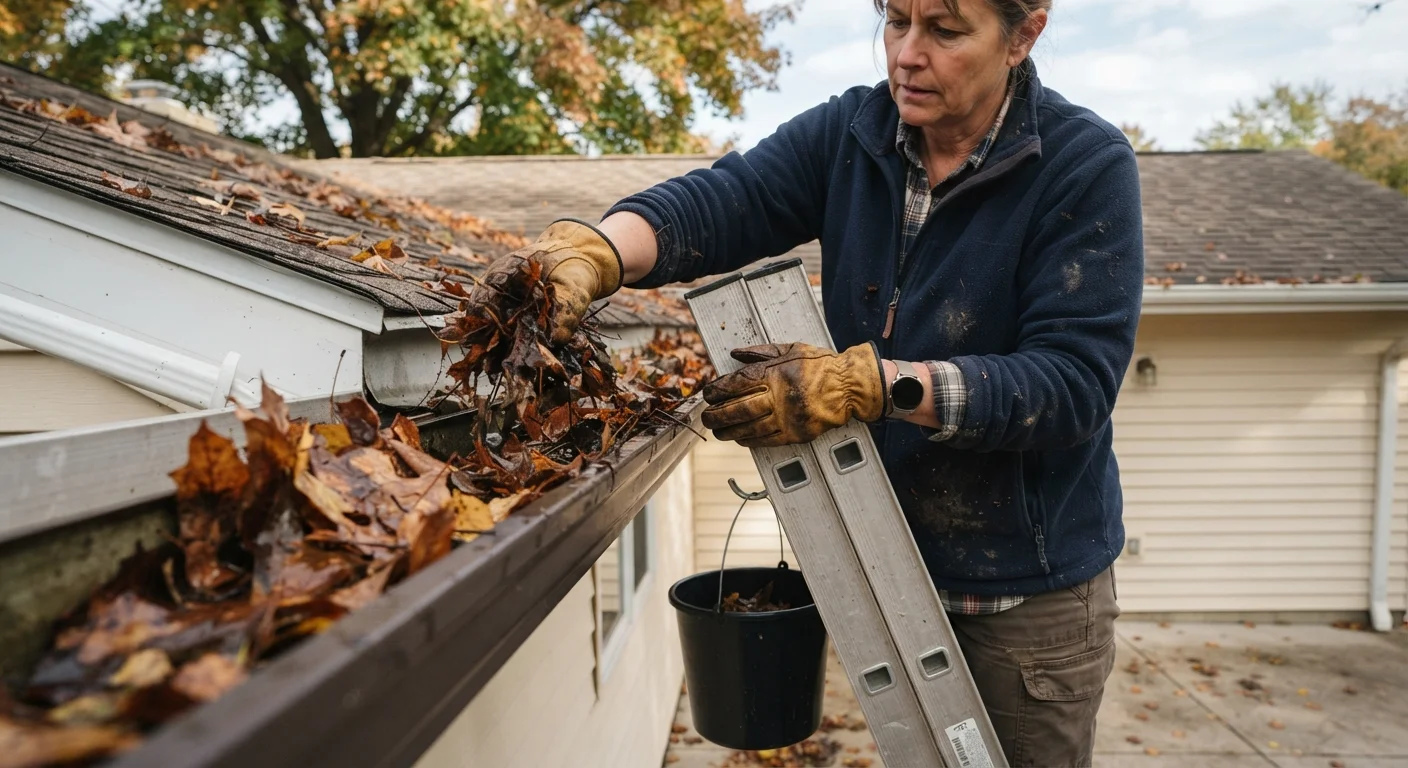
Before you climb a ladder, gather what you need: work gloves, safety glasses, a stable extension ladder with a standoff stabilizer (to keep it off the gutters themselves), a plastic scoop or garden trowel, a bucket or tarp, and a garden hose with a spray nozzle.
- Set up your ladder safely. Place it on firm, level ground and never lean it against the gutter itself, which can bend or detach it. Use a ladder stabilizer that rests against the roof edge or fascia.
- Scoop debris by hand. Work from the downspout end toward the closed end to avoid pushing material into the downspout. Drop debris into a bucket rather than onto landscaping.
- Flush with water. Starting at the far end from the downspout, run water through the gutter toward the downspout. This confirms flow and reveals low spots where water pools.
- Clear downspouts. Insert the hose into the top of the downspout and run water at full pressure. If it backs up, a plumber's snake or downspout auger can break up the blockage.
- Check water flow at the outlet. Water should exit the downspout and travel away from the foundation via a splash block or extension.
Make Flushing the Final Step Every Time
Always finish a gutter cleaning session by running a hose through the full length of the gutter and out the downspout. This confirms the downspout is clear, reveals any low spots where water sits, and shows you whether the outlet is directing water far enough from the foundation. Skipping this step means you may have cleaned the debris but left a drainage problem undetected.
Never lean over the edge of a roof to clean gutters - this is how falls happen. If your home is two stories or has a steep pitch, this is a task worth delegating to a licensed contractor.
Inspecting Gutters for Hidden Damage
Cleaning is the right time to inspect, because you're already up close. Work methodically from one end to the other, looking for these specific issues:
- Pitch problems: Water should drain toward downspouts at roughly a quarter-inch of drop per 10 feet of run. Visible pooling after flushing indicates sagging.
- Separated joints: Where gutter sections connect, look for gaps or daylight. Joints that have pulled apart will leak every time it rains.
- Rust or corrosion: On steel gutters, orange staining or pitting indicates the protective coating has failed. Surface rust can sometimes be treated; through-rust cannot.
- Cracks and holes: Small cracks in aluminum or vinyl gutters can be sealed with gutter caulk or patched; larger splits usually mean section replacement.
- Fastener failure: Spikes or screws that have pulled out of the fascia cause gutters to sag and pull away from the roofline. Re-fastening with longer screws often solves this.
- Fascia damage: If the wood behind the gutter is soft, discolored, or crumbling, it has been absorbing water - possibly for years. Address the fascia before reinstalling or replacing the gutter.
After flushing gutters, photograph any spots where water pools or drains slowly. These images give you a useful before/after record and help explain the issue clearly to a contractor.
Visual documentation makes it much easier to track whether a pitch problem is worsening over time and to communicate specific problem areas without climbing back up.
When re-fastening a sagging gutter, replace original gutter spikes with hex-head screws that are at least an inch longer than what you're removing - they bite into solid wood behind the fascia far more reliably.
Spikes loosen over time as wood expands and contracts seasonally. Longer screws distribute load better and are far less likely to pull out again within a few years.
From the ground, also look for early signs of water damage on your siding directly below the gutters - staining, peeling paint, or dark streaking often signal chronic overflow you haven't noticed up close.
When to Repair vs. When to Replace
Not every gutter problem requires full replacement. Here's a practical framework:
| Issue | Likely Fix |
|---|---|
| Single small hole or crack | Patch with gutter sealant or metal flashing patch |
| Separated joint | Re-seal with gutter caulk or replace that connector |
| Sagging section | Re-hang with new fascia screws or hidden hanger brackets |
| One corroded section | Replace that section only |
| Multiple failing sections, widespread rust, or gutters over 20 years old | Full replacement is typically more cost-effective |
| Damaged fascia board underneath | Repair fascia first, then address gutter |
Aluminum gutters typically last 20 years; galvanized steel gutters, 15-20 years; vinyl gutters in harsher climates, sometimes less. Seamless aluminum gutters - cut to length on-site - eliminate most joint-leak problems and are a common upgrade when replacing sectional systems. Consult your home maintenance glossary if unfamiliar with terms like fascia, soffit, or flashing that come up during contractor conversations.
Don't Patch Over Rotted Fascia
Installing new gutters or re-hanging sagging ones onto rotted fascia boards is one of the most common gutter mistakes homeowners make. Fasteners won't hold in compromised wood, and the moisture problem that caused the rot will continue to worsen behind the gutter. Always inspect and replace damaged fascia before any gutter work - otherwise the repair will fail prematurely and leave the underlying damage unaddressed.
When to Call a Professional
There are situations where DIY gutter work is genuinely inadvisable:
- Two-story or multi-level homes where ladder work at height significantly increases fall risk.
- Rooflines over 15 feet or steep pitches where maintaining ladder stability is difficult.
- Fascia or soffit replacement, which requires carpentry skill and may involve roofing material near the edge.
- Full gutter replacement, which involves precise measurement, cutting, and fastening - and for seamless gutters, requires specialized equipment.
- Suspected structural damage behind or beneath the gutters that may involve permits or licensed trades.
When evaluating contractors, ask for proof of licensing and insurance, get at least two written estimates, and ask specifically whether the quote includes downspout work, fascia inspection, and haul-away of old materials. A reputable contractor will do a ground-level and close-up assessment before quoting - not a drive-by estimate.
This article is for general informational and educational purposes only. Home repair tasks, particularly those involving ladders or structural components, carry inherent risk. Always verify local building codes, permit requirements, and safety regulations before undertaking any home maintenance work, and consult a licensed professional when in doubt.